Thursday, July 12, 2012

MY Potato Salad

 I'm joining a Linky Party, "Foodie Friends Friday Linky Party" at my sister's blog, Walking on Sunshine.  I'm sharing a couple of my favorite recipes, along with many other foodie bloggers. So please head on over to Walking on Sunshine, and join the fun!

It sure feels like Summer!  It's been hot and dry, just the way I like it....in the Summer.  I wouldn't mind a rain shower a couple times a week....in the evening.  It hasn't rained here in a while, and the grass is brown and dry, something very common in the Summer, here in New Jersey. 

Potato Salad, a great Summertime side dish.  It's perfect for picnic's, BBQ's, and get-togethers.  I make this delicious Potato Salad, often. It;'s kind of like a "deviled egg" potato salad.  I use mayo, Italian dressing, and mustard in the dressing.  The flavor is perfect, and everyone RAVES over MY Potato Salad.  You will love this, try it!

Potato Salad

5lb of Red Potatoes scrubbed
4 stalks celery chopped small
1 medium red onion minced
5 hard boiled eggs chopped

1. In a large stockpot add the potatoes and enough water to cover.  Bring to a boil, and cook for about 20 minutes until the potatoes are cooked through and a large knife goes through the potato easily, without any resistance.  Drain all the water, and let cool, or do this the day before.

2. Peel the COOKED potatoes, I use the back of a small spoon, this makes it so much easier!  Slice the potatoes into chunks.

3. In a large bowl add the sliced potatoes, chopped celery, minced red onion, and chopped hard boiled eggs. 

The Dressing

1 cup of Italian Dressing - I use Good Seasons Packets where you have to mix it with the oil, vinegar and water......or I make my own
1 & 1/2 cups Mayonnaise
3 TBS Spicy Brown Mustard
2 tsp salt
1 tsp black pepper

4. Mix all the ingredients together with a whisk, add to the Potatoes and mix really well.  Taste it what does it need, more salt, or pepper?   Is it dry?  Does it need more Italian Dressing?  Always taste your food. Refrigerate for 2 hours or overnight.  Enjoy!  So YUMMO!

Doesn't that look YUMMO!

Make this for your next Picnic!


Wednesday, July 11, 2012

Beef Enchiladas

I'm linking this recipe up with The Better Baker's Weekend Potluck! Go take a look-see!

It's been a very busy week.  This whole week our church is having VBS, Vacation Bible School.  We are active in VBS, my Hubby is helping in Wood Shop, Becca is helping with Recreation, Davey is in the 2nd grade class, and I'm helping in Crafts.  Over 300 children are participating....a great turn-out, we are loving it, and the fellowship is wonderful!

I've been cooking Beef Enchiladas now for years. They are easy, and so delicious. They remind me of a Mexican Lasagna. Yes, now don't faint..... I use the canned refried beans, canned enchiladas sauce, and even a packet of taco seasoning mix, they are so helpful, easy for a busy mom like me, and for a very busy week here at home.

To make this all taste so delicious and "fresh" I do use fresh Cilantro. I love fresh Cilantro, I even grow it with my herbs, it's so convenient to pick it, chop it up and add it to many dishes.  Cilantro makes all Mexican dishes taste so "fresh", even if you are using canned ingredients.  Make this recipe, so delicious, so satisfying!  YUMMO!

Beef Enchiladas

2 pounds Ground Beef, 85% lean
1 can Refried Beans
1 can Black Beans (drain, and rinsed from their liquid)
1 large can Enchiladas Sauce (red or green, the green is hard to find!)
1 packet Taco seasoning mix
2 tsp Cumin
2 TBS of fresh Cilantro
1/4 cup water
1 package of shredded Cheddar Cheese, about 12 oz
1 package of the medium Flour Tortilla's, about 10 in a pkg
1 small can of chili's only if you like it hot...I tend to leave this out because my kids won't like it

1.  In a skillet brown the meat and then drain all the fat, I drain the meat using a colander. Then return the meat back to the skillet. Add the water, taco seasoning mix, cumin, refried beans, rinsed black beans, chiles and cook for another 5 minutes and mix it really good to combine.

Doesn't this look so delicious!

2. In a 9x13 greased casserole dish, put about 1/2 cup of the Enchiladas Sauce, then take the Floured Tortilla's and spread about 2 TBS of the beef mixture in the middle of each tortilla, and then top it with a sprinkling of cheese, but save about 1 cup of the cheese for the topping at the end.


3. Roll them up, and put them in ONE LAYER in the casserole dish on top of the enchiladas sauce. Continue doing this until all the beef mixture is gone, and the floured tortillas are used up, you will have about 10, squeeze them in the casserole dish again, only one layer.


 4. Top with the remaining Enchiladas Sauce, and cheese, sometimes I even top it off with the meat mixture if I have any leftover.  Bake uncovered in a 350 oven for 1/2 hour.  Enjoy!


Garnish - Sour Cream and Salsa....and a Most Delicious Salad!


Monday, July 9, 2012

Blueberry Pancakes!

We've finally felt some relief from the heat.  It's been so HOT here in New Jersey, in the upper 90's, and it hasn't rained in two weeks!  Our grass is starting to burn up, that crunchy sound when we walk on it.  We've been watering our garden's every day, especially our veggie garden, it looks really good, and the Zucchini are finally growing!!!

Our local grocery store had a sale on fresh New Jersey Blueberries, I bought 6 packs, put them on cookie sheets, froze them, and then put them all in a big Ziploc bag.  We love blueberries in our house, and we love Blueberry Pancakes!

Here's a great recipe for my Blueberry Pancakes, when I have the time, I do like to make pancakes from scratch, and this recipe is easy.  I do use Bisquick from time to time.....don't faint, I know, but Bisquick makes really delicious pancakes. 

Try this recipe you will love it!

Blueberry Pancakes

2 cups all-purpose flour                                      
2 teaspoons baking powder
1 teaspoon baking soda
1/2 teaspoon salt
3 tablespoons sugar
2 large eggs, lightly beaten
3 cups buttermilk
4 tablespoons unsalted butter, melted, plus 1/2 teaspoon for griddle
1 cup of Blueberries

Heat griddle on High. Whisk together flour, baking powder, baking soda, salt, and sugar in a medium bowl. Add eggs, buttermilk, and 4 tablespoons butter; whisk to combine. Batter should have small to medium lumps.
Don't over mix!

In a small bowl add the blueberries, and with a fork squish them slightly, kind of making them a little mushy, but not too much. Add this to the pancake batter, and stir.


Butter the griddle, and pour the pancake batter, in pools 2 inches away from one other. When pancakes have bubbles on top and are slightly dry around edges, about 2 1/2 minutes, flip over. Cook until golden on bottom, about 1 minutes.
On the hot griddle!


All ready to get turned!

Repeat with remaining batter. YUMMO!

So YUMMO!


Thursday, July 5, 2012

Rustic Peach Pie

We had a wonderful Fourth of July!  The food was great, the weather was hot and sunny, and visiting with my family was even better!  I hope you all enjoyed your holiday, now Summer is officially here!

I've been making Pie for a very long time now.  I have mastered pie crust, and when you have a good pie crust recipe, you can make any kind of pie you want.  I have a very Easy Pie Crust Recipe that I've shared with you many times.  It's a No fail pie crust, it comes out flaky, and delicious. I would NEVER by one of those refrigerated pie crusts, they are expensive, but I use to many years ago until I tried this recipe. 

This recipe is for a Rustic Peach Pie, and it's easy, so if you're intimidated by rolling out a pie crust and crimping the edges, this Rustic Peach Pie is for you! 

No Fail Pie Crust

2 & 1/4 cups all purpose flour
1 cup shortening
1 tsp salt
1 egg
water
1 tsp. vinegar

In a large bowl put the flour and salt, and shortening, then using a pastry cutter or 2 knives cut the shortening into the flour and salt.

Using a liquid measuring cup, break one egg into it, and then fill it to the 1/2 cup line with ice cold water, and add 1 tsp vinegar.....YES vinegar......it will be fine you'll see.

 Mix it with a fork, then add it to the flour/shortening mixture and mix together with with a fork, then get your hands in there and gather the dough together don't be afraid, this pie dough recipe you can work the dough and it will still be flaky!

Form into a round disk, if it's too wet, add a little more flour, too dry, add very little water....it will be sticky, but not overly sticky.....all depends on the day and humidity.......wrap in plastic wrap and put in the frig for about 1/2 hour, or you can even leave it in there for 2 days, or freeze it for whatever pie you want.  I do believe it rolls out easier when it's not chilled for a long time, so 1/2 hour really should do the trick.

Rustic Peach Pie

1 recipe of No Fail Pie Crust
6 Peaches sliced thin
1/4 cup sugar
2 tsp cinnamon
2 TBS flour
1/2 stick of butter cubed

Slice the peaches (you don't have to peel them) into a big bowl add the sugar, cinnamon, and flour.

Take the pie dough out of the frig, and cut the disk in half, you only need half of the pie dough for this recipe, or if you want to double the recipe, go for it!

Shape the half disk into a ball then flatten with your hand.  Roll 1/2 the disk of pie dough out on a floured surface, sprinkle the flour on the surface first, then put the pie dough down, sprinkle a little more flour on top of the dough, and using your rolling pin start rolling with into a 9 inch circle. Before you add the filling, transfer the dough to a foiled line or parchment line cookie sheet.

Rolling out Pie Dough
Put the Peach filling in the center of the pie dough, dot the filling with the cubed butter.and simply fold the sides over the filling. 

Filling in the center of the pie dough!
Fold the sides over!

Make an Egg Wash: Combine 1 egg yolk and 2 TBS water in a small bowl, brush the top of the pie and bake in a preheated 350 oven for 45 minutes.  Let cool and EAT!  YUMMO!


Wednesday, July 4, 2012

Zucchini Casserole

What a wonderful Fourth of July we had today!  My family came over, cousins I haven't seen in four years, I missed them, and so glad we were able to catch up, just like old time!  We also celebrated my sister and her husbands 25th Wedding Anniversary, they were surprised!  It was a very HOT day here in NJ, but it's Summer, and the pool really cooled us off!

I cooked up a storm like I usually do for any holiday.  One of the dishes on my menu was Zucchini Casserole.  I posted about this dish several months ago, and it's just too good, so I wanted to share it with you all again.  We have a beautiful veggie garden this year.  We planted Zucchini plants, they are covered with flowers, but no signs of Zucchini! 

Last year all our Zucchini plants died, what a disappointment!!!  So this year we are taking extra care watering, feeding, spraying the insects, and they look very healthy, and the plants are growing, but NO SIGN OF ZUCCHINI growing!  We are hoping, and praying for Zucchini, time will tell.

This recipe is so delicious, it uses Bisquick, only 1 cup, and it's so good, and of course, EASY!  Try this for your next get together, everyone loves it!  YUMMO!

Zucchini Casserole

3 cups of zucchini grated or sliced (I like it better sliced very thin)
1 cup Romano or parm. cheese
1 cup Bisquick or jiffy baking mix
1/2 cup oil (I use canola it's better for you than veggie oil)
4 eggs beaten
1 tsp. pepper/parsley, oregano
2 tsp. salt (make sure it's well seasoned)
1 small onion chopped

Mix all ingredients together, pour into a greased pie plate, or casserole dish, and bake for 45mins on 350. Delicious!!!!


Sunday, July 1, 2012

Counting Down to July 4th......Ice Cream Sandwich Cake!


It's been so hot here in New Jersey.  I'm not really complaining because I do enjoy the heat when it's SUMMER....not in March or in October.  Just like I enjoy snow in February, and not in OCTOBER...remember?   We've been laying low chillaxing by the pool, enjoying our lazy days of Summer.

The 4th of July is coming, and I am hosting this big Summer holiday!  My family all are coming, including my cousins I haven't seen in FOUR YEARS.....hard to believe, and I'm looking so forward to it all.  I will be cooking up a storm, something I do enjoy if you know me.

I'm going to make a new recipe, Ice Cream Sandwich Cake, I saw the recipe on Pinterest, and thought it look delicious and easy.  I make a really good Ice Cream Cake, I posted about it a couple days ago, but this recipe is something different, and I'm gonna give it a try.

Since I'm going to have a crowd on July 4th, I will be doubling the recipe, and will make it in a 9x13 pan instead of the loaf pan the directions below suggest.  I'll post about it, and include some pictures soon.  Here's the recipe, Enjoy!

Ice Cream Sandwich Cake

Ingredients
  • 1 & 1/2 cups heavy cream
  • 2 tablespoons confectioners' sugar
  • 6 ice cream sandwiches (3.5 ounces each)
  • 1/2 cup chocolate chips chops

Directions

  1. Line an 8½-by-4½-inch loaf pan with a piece of wax paper or parchment, allowing the paper to hang over both long sides.
  2. In a large bowl, beat the heavy cream and sugar until stiff peaks form.
  3. In the bottom of the pan, arrange 3 of the sandwiches in a single layer, cutting them to fit as necessary. Spread with half the whipped cream. Repeat with the remaining sandwiches and whipped cream.
  4. Sprinkle the top of the cake with the chopped chocolate chips. Cover with plastic wrap and freeze until firm, at least 1 hour and up to 1 week.
  5. Holding both sides of the paper overhang, lift the cake out of the pan and transfer to a platter.

YUMMO!

Friday, June 29, 2012

Counting Down to July 4th......Cole Slaw!

Baby it's HOT outside!  It's 97 degrees, and it's a scorcher today.  We were outside in the pool, and yes it was refreshing, but it's just too hot! 

I am counting down to July 4th.  We have a big July 4th celebration almost every year, and it's usually at our house, since we have the pool.  I enjoy having my family over, we always have a good time, the food is always great, and everyone always helps with it. 

Cole Slaw, I just love it, and it's a big Summertime food, especially for BBQ's and picnics.  I've been making Cole Slaw for years, but just a couple weeks ago, I made this most delicious Cole Slaw, came up with the recipe all on my own, yeah, I do that a lot......and it came out so good, my hubby loved it. 

What are you cooking for July 4th?  Are you hosting this special Summer holiday?  Enjoy this holiday, invite your family, and friends over for a bbq, try some new recipes, make an ice cream cake, or a flag cake.  When you get the hang of it, entertaining the people you love is very simple, so go for it!

Cole Slaw

1/2 head of regular cabbage, slice thin in little strips
2 whole carrots shreddred or 1 cup of shedded carrots
1 green onion chopped small
Head of Cabbage!

Or you can buy the bagged Cole Slaw mix, but honestly, I feel it gets too mushy, so I buy a whole head of cabbage, it's cheaper! Chop up 1/2 head of cabbage for this cole slaw. Cut up the cabbage, into thin little strips, shred the carrots on a box grater, or better yet buy a bag of shredded carrots, but you only need 1 cup of carrots.  Chop up the green onion.  Put it all in a very big bowl.

The dressing

3/4 cup of Mayo
1/2 cup whole milk
2 tsp. spicy brown mustard
1 TBS sugar (I use Splenda)
3 tsp. apple cider vinegar
1/2 tsp. black pepper

Combine all the ingredients in a bowl, and whisk until all blended.  Now taste it, what does it need, more sugar, more vinegar?  It's all up to you and your taste buds!

Pour the dressing over the cabbage slaw and mix really well, taste it again making sure it's right.  Refrigerate for one hour or overnight.  I always make this the day before!  YUMMO!

Thursday, June 28, 2012

Counting Down to July 4th....Taco Salad!

It's been a beautiful day here in Northern New Jersey, sunny and HOT!  Exactly what I enjoy in the Summer. We were invited over to my friends house today for lunch and to swim in their pool, it was a wonderful day!  Hanging with good friends is so refreshing especially in a POOL! 

Taco Salad, it's so good.  I love this salad because it has so many good things in it, especially one of my favorites......Doritos! 


This recipe is a great one, perfect for a Summer get-together.  It's easy, and everyone loves it. I usually make my Homemade Italian Dressing, it only takes a few more minutes than whipping up the Good Seasons, it's so fresh, and really easy....try it.  But I know the Good Seasons is so convenient, so it's up to you. 

This will be one of the salads I will be making for our Fourth of July party.  Hope you make it too!  Enjoy!


Taco Salad

2 whole heads of Romain Lettuce chopped
1 Red pepper chopped
1 Green pepper chopped
2 Tomatoes chopped
1 small red onion chopped
1 can of sliced black olives
1 Avocado chopped (optional)
2 cups shredded cheddar cheese
1 can of black or kidney beans DRAINED and RINSED
1 bag of crushed (yes crushed but not TOO CRUSHED) Doritos (any flavor but I like to use the Taco flavor)
1 lb chop meat cooked in a skillet until no longer pink and COOLED - you can do this the day before
1 pkt Taco seasoning

Get a really BIG BOWL, the biggest one you have in the house! Cook the chop meat in a skillet, drain all the fat, then add the taco seasoning to it and mix really well, cool or do it earlier in the day or the night before. To the big bowl, add all the ingredients, and then pour the Italian dressing on top, and mix really well. Sometimes before a party I will add all the ingredients in one big bowl, and keep in the frig, then right before we eat, add the Doritos and mix it up with the dressing! So easy, so fresh, and so delicious! YUMMO!

Homemade Italian Dressing

1 cup of olive oil or canalo oil
1/4 cup cider vinegar or balsamic vinegar
1 tsp, oregano
1 tsp. italian seasoning
1 tsp. garlic powder
1 tsp. onion powder
1 tsp. salt
1 tsp. ground pepper
1 TBS sugar
1 TBS spicy brown mustard

Mix all the ingredients together with a whisk, or put in a mason jar and shake really well. 

Homemade Italian Dressing!


OR USE Good Seasons Dressing - if you want buy a bottle of any Italian Dressing, but the Good Seasons, the one where you have to make it with the oil and vinegar is really the best one!
This is the BEST, and use Cider Vinegar!


So YUMMO, don't you want this for dinner tonight!

Tuesday, June 26, 2012

Ice Cream Pie......

I love Ice Cream Cake, but it can be very expensive!  So years ago I started making my own Ice Cream Cake, and it was a hit!  On Father's Day, I wanted to make my hubby an Ice Cream Cake, but a smaller one since it would be just the four of us, so I made an Ice Cream Pie, and did it ever come out GREAT!  Here's the recipe.

Ice Cream Pie

1 Gallon of your favorite Ice Cream (I used Cookies & Cream)
About 3 TBS Chocolate Syrup
1 Cup of chocolate cookies crushed (I used Chocolate Animal Crackers)
1 8 oz container Cool Whip
Sprinkles
1 Box Brownie Mix


Cool Whip, Ice Cream, Crushed Cookies and Chocolate Syrup....forgot the Sprinkles and Brownie Mix!

Mix up the Brownie Mix, and pour half of the mixture into a pie plate, and bake in the oven for 10 - 15 minutes. Use the other half for a small tray of Brownies!

Baked Brownie Bottom!

Take out of the oven and let cool.

Meanwhile take the ice cream out of the freezer and let it stand at room temp for 1/2 hour until soft.

To really get the ice cream soft, put it in a mixing bowl and whip it good with the mixer for 1 minute or so.

softened it!

 It should be pourable now, lay it on top of the cooled brownie. 
Ice Cream all smoothed out!

Swirl the chocolate syrup onto of the ice cream, and add the cookie crumbs and get it immediately into the FREEZER for 2 hours!

chocolate syrup

cookie crumbs!

After the 2 hours it should be nice and hard, top it off with the Cool Whip, making nice swirls for decoration.  Sprinkle the sprinkles all around, and put it back into the FREEZER for another 2 hours.

Cool Whip
 I always make this the day before, it's delicious and everyone LOVES IT!  Enjoy!

The Kids!

Enjoy!


Monday, June 25, 2012

My Recipe for the Best London Broil.......I Promise it's SO YUMMO!

I hope you all are enjoying the start of Summer.  The kids have been out of school now going on two weeks, and so far, so good.  We have been relaxing by the pool, having friends over, and doing some gardening.  My veggie garden is doing so well, no zucchini growing yet, last year we had NO Zucchini, they all died, one after the other, it was very sad.  So this year I am "stressing out" about my Zucchini, I know I care for my veggies too much.  Had to spray them last night, let's hope the bugs stay away, I have so many delicious recipes for Zucchini!

My Veggie Garden and Chicken Coop in the back!

London Broil, do you like it?  At first I never did.  It's always on sale, and when it is, I can get a nice size London Broil for about $7.00, and it would feed our family fabulously.  But it never came out good.  I would always marinate it in whatever kind of marinade, and they just wouldn't do the trick.  So, years ago, I called my Mom and asked her "what's that marinade you always used for steak when we were kids?"  And sure enough I started using "Mom's Marinade" on my London Broil, and the steak came out tender, and so delicious.

I marinate the London Broil for ONE whole day. YES 24 HOURS!!!  You need to marinate it LONG, it tenderizes the meat.  London Broil is a tough meat, but all so delicious when done right.  It also needs to sear on the grill first, then cook it until YOU like it.  I like mine a little pink in the middle, but not BLOODY........GROSS!  Take it off the grill and let it SIT COVERED for 10 minutes, and then SLICE IT across the GRAIN!  So easy, so delicious, trust m

I use this marinade for grilled Pork Chops, another post, and grilled Boneless Chicken Breasts.  My little boy loves this marinade so much, I give him a little bowl of the "juice" after slicing up the meat, there is so much goodness after slicing up the meat, pour it all over the meat, it's so good!  Try this recipe you will love it!

Mom's Marinade for London Broil

1 London Broil about 2 lbs
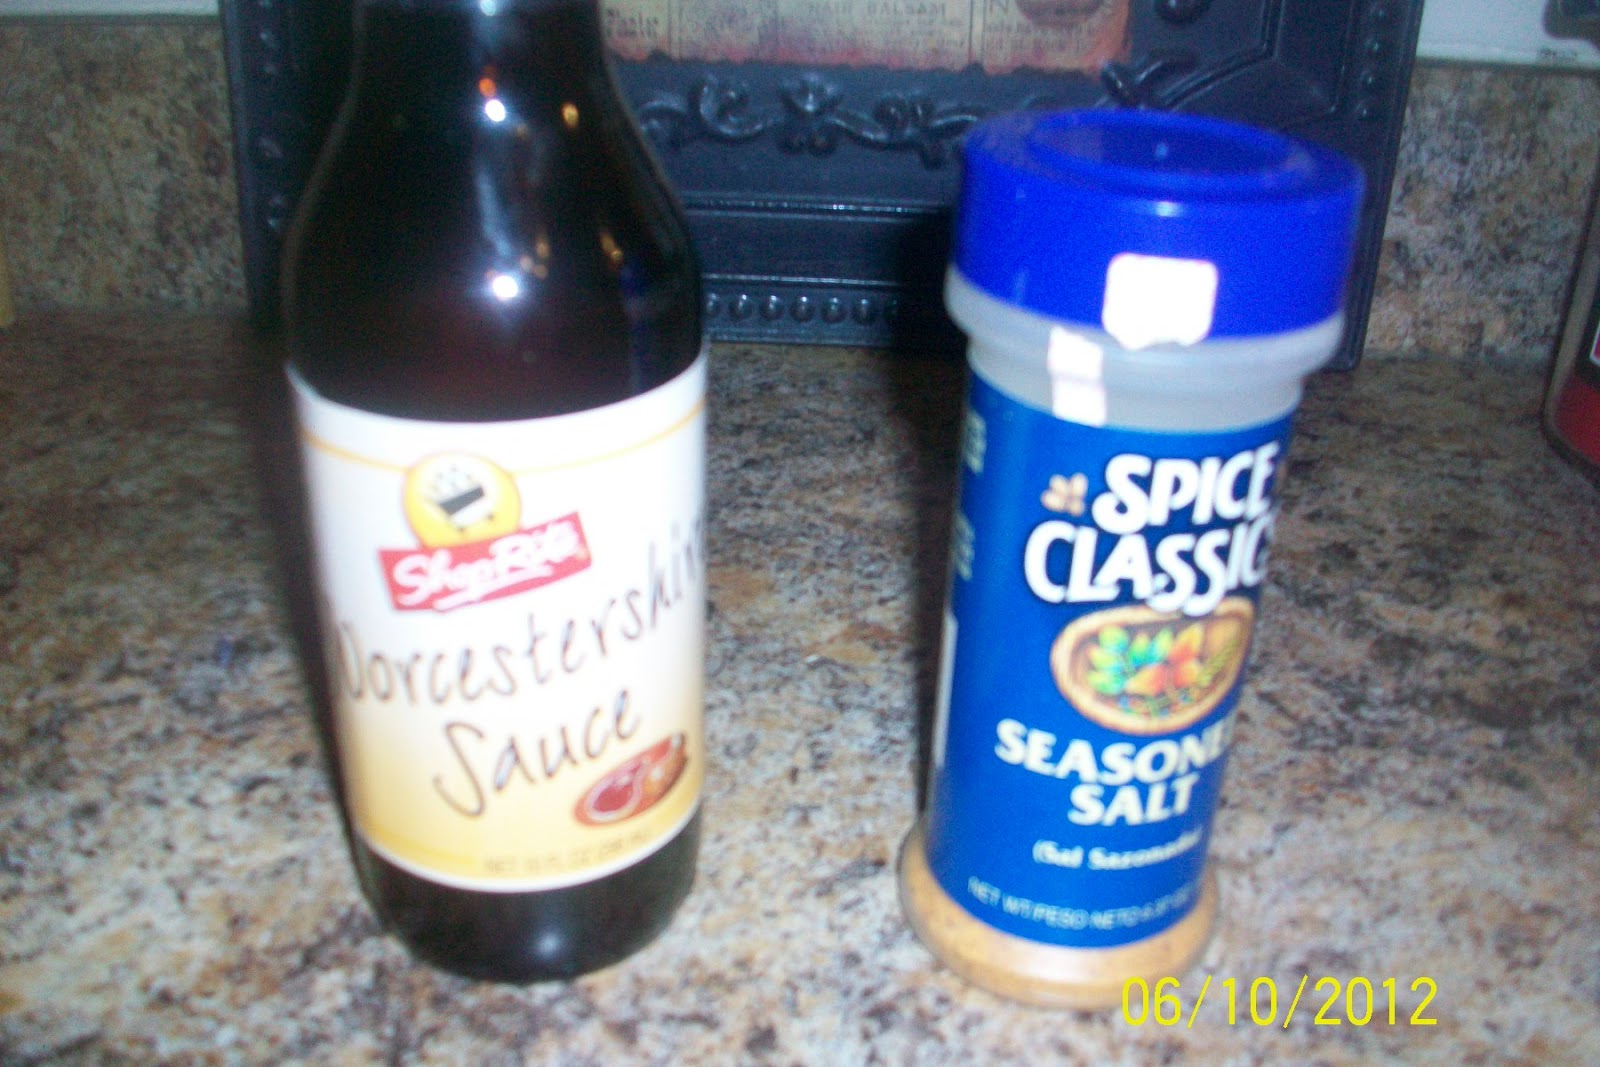
Worcestershire Sauce
Seasoned Salt

Two Ingredients!


Put the London Broil in a 9x13 casserole dish.  Sprinkle a nice amount of the Seasoned Salt over it, about 1 TBS, turn it over, and sprinkle again on the other side.  Shake a nice size amount of the Worcestershire Sauce, about 2 TBS, over the Seasoned Salt, turn the meat over and shake about 2 more TBS over it again.  Cover with plastic wrap, and put in the frig and marinate for 24 hours, ok so if you don't plan it out, do it in the morning, that will give you like 8 hours or so :)

All Marinaded Ready for the Grill!

Take out and start grilling, sear it for 5 minutes on High,  turn over and sear other side for 5 mins. Flip over and lower heat until you think it's perfectly cooked for your liking.  I like mine a little pink inside, so it should take about 15 more minutes or so, it all depends on the size and thickness of the meat.  A good way to test if it's done is touching the meat, if it feels soft and mushy, it's still pretty raw, if it feels a little firm then it's medium, if its firm then it's well-done....if it's hard as a rock, you overcooked it!

Take off the grill and let sit on a plate covered for 10 minutes so all the juices stay in the meat.  Slice against the grain, into VERY THIN SLICES, on an ANGLE, a sharp knife will help......There will be a puddle of "juices" from the resting meat, pour it over the meat, so delicious!  Enjoy!

Slicing Very Thin Against the Grain! 


All ready to EAT!  London Broil, Fried Potatoes, Corn on the Cob, and Wedge Salad! 


Note: Discard any leftover marinade from the raw meat.  Or do what we do, pour it all over the meat when you first put the meat on the grill.