Saturday, March 31, 2012

Happy Spring......Chocolate Cake!

Well, it's been a busy couple of weeks......or did I run out of recipes to post?  NEVER! 

Spring has SPRUNG here in New Jersey!  Everything is blooming, and so beautiful!  It's very early this year, and we were all surprised when the trees, shrubs and flowers started blooming, but we are enjoying it all, just got to get outside and get the yard cleaned up....so much to do, so little time.

Easter is coming next weekend, and this Palm Sunday weekend, our church choir is performing our cantata, "The Risen Christ". We've been practicing for months.  I have enjoyed it, and love singing in our church choir.  So tonight is the first performance, then again tomorrow night. 

March has been a busy birthday month, my little boys birthday was on the 1st, my Hubby's on the 16th, and my Mom's 80th, on the 29th.
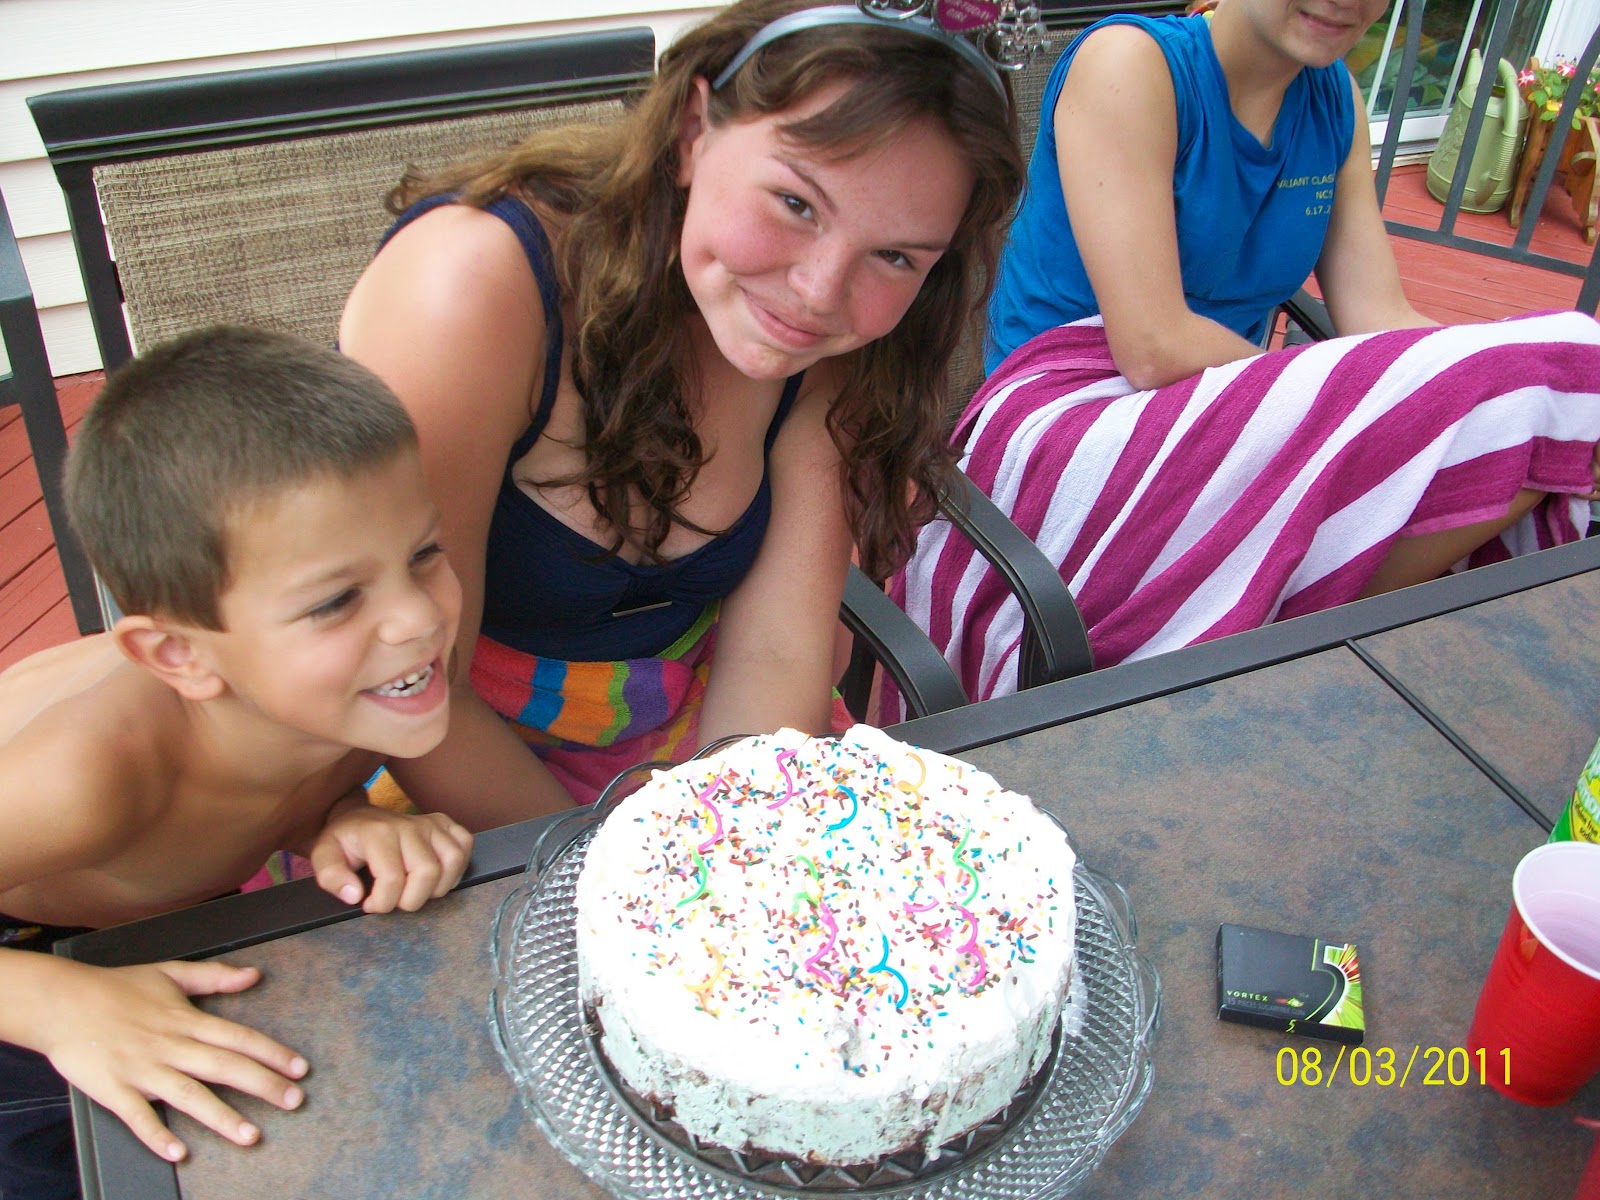
Davey and his Birthday cake....YUMMO!


My Hubby's Birthday Cake


 I feel like I've been baking birthday cakes all month long.  I made my "guys" their favorite, and it had to be Chocolate Cake! It's the recipe on back of Hershey's Cocoa, I've been baking this recipe for years, it is so moist, delicious, and easy. Try this recipe, you will want to mark this as your favorite Chocolate Cake, I promise!


 Hershey's "Perfectly Chocolate" Chocolate Cake

2 cups Sugar
1 & 3/4 cups flour
3/4 cups Hershey's Cocoa Powder
1 & 1/2 tsp. baking powder
1 & 1/2 tsp. baking soda
1 tsp. salt
2 eggs
1 cup milk
1/2 cup vegetable oil
2 tsp. vanilla
1 cup boiling water (YES BOILING WATER!)

Combine all the ingredients to a bowl in the order listed except the boiling water.  Mix on low at first then mix it on med-high, scrap the sides down making sure its getting mixed. Add the boiling water, and mix on low, again scrap down the sides.

 Prepare two round cake pans, flour and grease them, I like to spray the pans with cooking spray first, then lay in a round of wax paper, spray again, and flour the pans, dump the extra flour out.  Add the batter evenly, and bake in a preheated 350 for 30 - 35 minutes.

Take out of the oven, and let cool for 1 hour or even overnight.  Now make the frosting!

"Perfectly Chocolate" Chocolate Frosting

1 stick of softened butter (not melted)
2/3 cup "Hershey's Cocoa" powder
3 cups Powered Sugar
1/3 cup milk
1 tsp. vanilla
Colored Tube Frosting from the store to decorate

In a mixer cream the butter add the cocoa powder, slowing add the powered sugar, milk and vanilla.  Mix this for 2 - 3 minutes until all combined, scraping the sides down making sure it's all mixed.

Get a pretty cake stand, and put wax paper around the edges, so when you frost your cake so the frosting doesn't mess up the cake stand. Put one cake round on top of the wax paper  Put about 1 cup of the frosting on top of the cake for the filling.  Spread it all around, and top it with the other cake round.  Now start frosting your delicious cake.  Just in case you don't know how to frost a cake, it's so easy, believe me I still make a mess, I'm not perfect, but the wax paper really helps! 

Put frosting on top of the first cake, for a "filling"


Simply frost all around the edges making sure everything is covered!

Perfect, now to decorate, I use those tube frosting and tips from the store.


This is the Birthday Cake I made for my Hubby! All pretty, and EASY!


Tuesday, March 13, 2012

Easiest Ice Cream Cake EVER!!!


I do enjoy a good Ice Cream Cake.  I love Carvel Ice Cream Cakes, but they are so expensive!!! My Dad loved them too.  For his birthday every year, I would buy him a Carvel Ice Cream Cake, and oh how he enjoyed eating it, along with everyone else!  So one day, for my daughter's birthday, I "cloned" a Carvel Ice Cream cake.  It came out so good, and everyone loved it.  It was so easy, and CHEAP!  Next time if you want to buy an Ice Cream Cake, think about making one, they are easy, and so satisfying! 

Becca's Birthday Cake


Here's my recipe.

Ice Cream Cake

1 box of brownie mix
2 cartons of any flavor ice cream you like
2 cups of cool whip
2 cups of chocolate animal crackers crushed
1/4 cup chocolate syrup
sprinkles

I use a spring form pan when making my Ice Cream Cake, it just looks nice, but you can use a regular 9x13 pan if you wish. 

Prepare the brownie mix, and pour only HALF the batter into the greased spring form pan, and bake for about 15 minutes or until done.  You only want a thin layer of brownie, not a thick layer.  So bake the remaining brownie batter in another pan, and that is your "cooks treat".

Take the ice cream out of the freezer and let defrost while the brownie bottom is cooking, and then you have to cool the brownie bottom, too. 

I like to put the ice cream in the microwave for about 40 seconds, too.  Starting with one flavor of the ice cream, put the whole carton in your Kitchen Aid Mixing bowl, (or whatever mixer you have) and with the paddle attachment, mix it around, this softens the ice cream, and is easier to pour, and smooth out on top of the brownie bottom.

Crush the animal cracker cookies any way you want. I put them in a food processor, but you can use a plastic bag and rolling pin too.  Top the first layer of ice cream with the crushed cookies.  Wrap the bottom of the springform pan with tin foil.  Put it in the freezer for 1 hour.  After the one hour, take it out and top with the chocolate syrup, and the other carton of ice cream, (again doing the same way your did before)  Put it in the freezer overnight.  The day you want to serve the cake, top the cake with the cool whip, and sprinkles, and freeze again for 2 hours. 

When you serve the cake, run a knife around the edge of the springform pan, and loosen the ring, take it off, put the cake on a platter.  Serve and enjoy!  YUMMO!

Monday, March 12, 2012

A Most Delicious Taco Salad!

Well, the weather will feel like Spring today for sure!  It's going to be in the high 60's!  I took a couple weeks off, it's been so busy around here.  My Hubby was home for about 20 days with an inner ear virus, he has been back to work, and doing fine.  My little boy Davey's birthday was on the 1st, he is 8 years old, can't believe how fast the time has flown by!   We just had his family birthday party this past Saturday, and it was so nice, and a lot of fun.  I cooked up a storm and made a lot of food, but for dessert I made my little boys favorite.....a most delicious ice cream cake!  I will share that recipe soon! It came out so good, and everyone loved it!   I also made this Taco Salad, that everyone enjoyed, it was easy, and so delicious, and I want to share the recipe with you....here it is.

Taco Salad

1 whole head of Romain Lettuce chopped
1 Red pepper chopped
1 Green pepper chopped
2 Tomatoes chopped
1 small red onion chopped
1 can of sliced black olives
1 Avocado chopped
1 cup shredded cheddar cheese
1 can of black or kidney beans DRAINED and RINSED
1 bag of crushed (yes crushed) Doritos (any flavor but I like to use the Taco flavor)

1 lb chop meat cooked in a skillet until no longer pink and cooled - you can do this the day before
1 pkt Taco seasoning

Dressing -  if you want buy a bottle of any Italian Dressing, but the Good Seasons, the one where you have to make it with the oil and vinegar is really the best one!
This is the BEST, and use Cider Vinegar!
Get a really BIG BOWL, the biggest one you have in the house! Cook the chop meat in a skillet, drain all the fat, then add the taco seasoning to it and mix really well, cool or do it earlier in the day or the night before. To the big bowl, add all the ingredients, and then pour the Italian dressing on top, and mix really well.  Sometimes before a party I will add all the ingredients in one big bowl, and keep in the frig, then right before we eat, add the Doritos and mix it up with the dressing!  So easy, so fresh, and so delicious!  YUMMO!
So YUMMO, don't you want this for dinner tonight!